How to Create an Appointment
Last modified:
To fully start using the DIKIDI Business service, after setting up a project, it is necessary to transfer ALL existing customer appointments to the Electronic journal ("Appointments" section). Thus, all appointments will be kept in one place.
After that, you can easily abandon a paper magazine, an excel file, etc. Now all the customer appointments will always be at your fingertips, available in the DIKIDI Business mobile app or on the website dikidi.net/business.
1. Automatic Appointment Creator
The easiest and most convenient way to create an appointment is to use a special appointment creator. It will guide you through the creation steps and will offer free windows for booking.
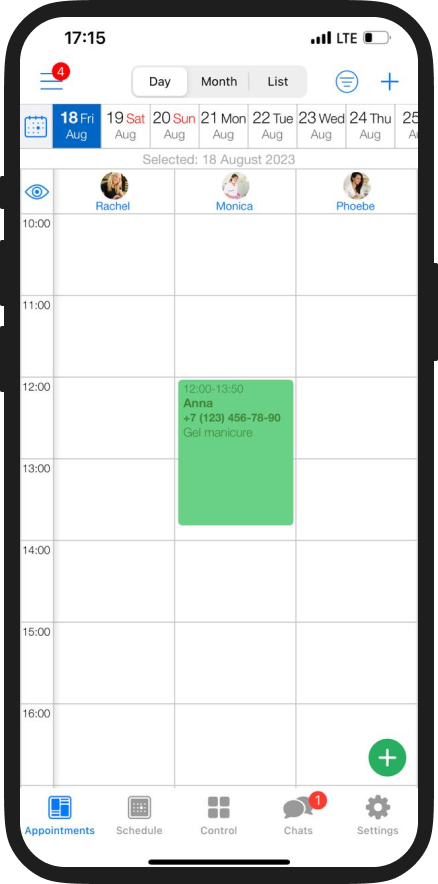
You can launch the creator in the "Appointments" section by clicking the "+" button (New appointment).
Then everything is quick and easy.
The creator is convenient to use when a customer is in touch with you, and it is not possible to search through the schedule.
2. Classic Appointment Creator
With this type of booking you need to select the date and time manually.
To make an appointment manually, click on a free slot in the "Appointments" section and select convenient time from the list.
